I love pinwheels. They remind me of my childhood and summer holidays; I recall building sandcastles on the beach and sticking pinwheels in the turrets, watching as they blew round and round in the wind.
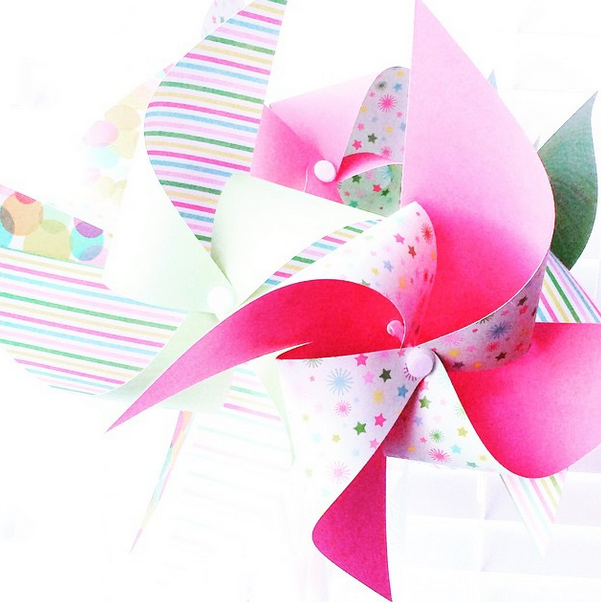
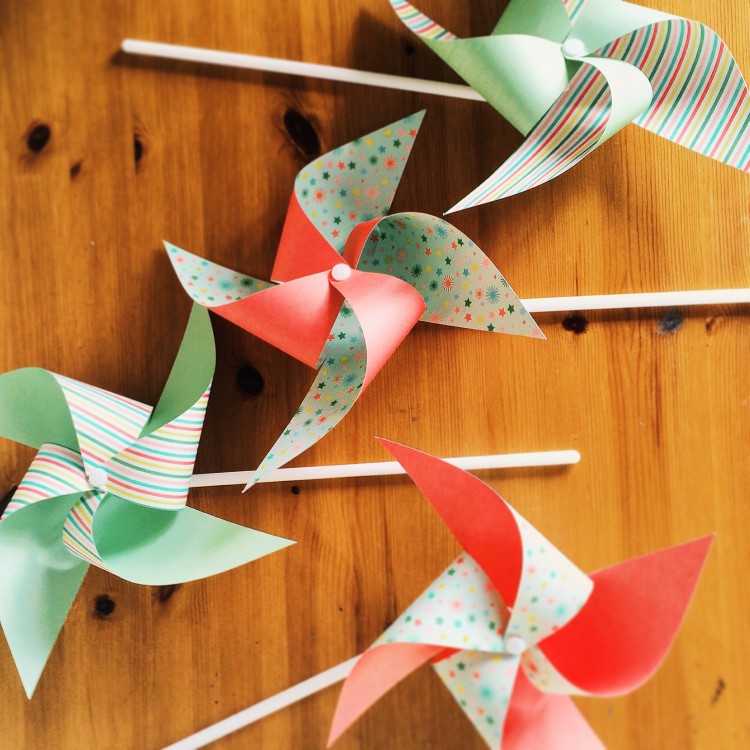
A couple of weeks ago, my lovely mother sent me a really fun gift! A DIY pinwheel kit from the Martha Stewart Crafts “Modern Festive” collection. I was ecstatic. These are a far cry from those garish metallic foil pinwheels of holidays gone by. These are elegant and contemporary in style – they’re actually designed to add a touch of colour to a wedding or other celebration (there are a number of coordinating elements in the “Modern Festive” collection, including tissue paper pom pom kits, coloured tags, paper garlands and more – see below)

So, I settled down to make my pinwheels last night. Yesterday, the weather was MISERABLE all day. (Seriously, it’s June next week and I put the central heating on!) At around 6pm the sun suddenly came out and streamed through my office/craft room window. I sat at my desk assembling the pinwheels in the bright, sunny room – it really cheered up my evening!
Review:
The kit contains all of the elements you need to make six brightly printed pinwheels. There are six patterned die-cut papers, sticks and fastening components in the kit.
At first, I found the instructions daunting, but the process is actually very simple. It only took 30 seconds to get my head around the steps, seriously a child could do this! After making my first pinwheel, I didn’t even need to refer to the instructions. I felt silly for worrying I’d mess up! This is a quick make: I finished all six pinwheels within 10 minutes.

TIP: In the instructions, it advises folding each pinwheel section to the middle, aligning the holes and then pushing the pin through (to secure) from front to back. I found it difficult to align all the holes, keep the sections folded and then push the pin through. Perhaps I’m just uncoordinated! So, instead I picked up the pin FIRST and pushed through each hole, one by one as I folded each section. Then I pushed the pin through the back and secured. Hopefully that’s easy to understand? (To clarify, I didn’t wait until all corners were folded and holes aligned before feeding the pin through and securing. I fed the pin through each hole first, one by one, then pushed to the back of the pinwheel and secured.)
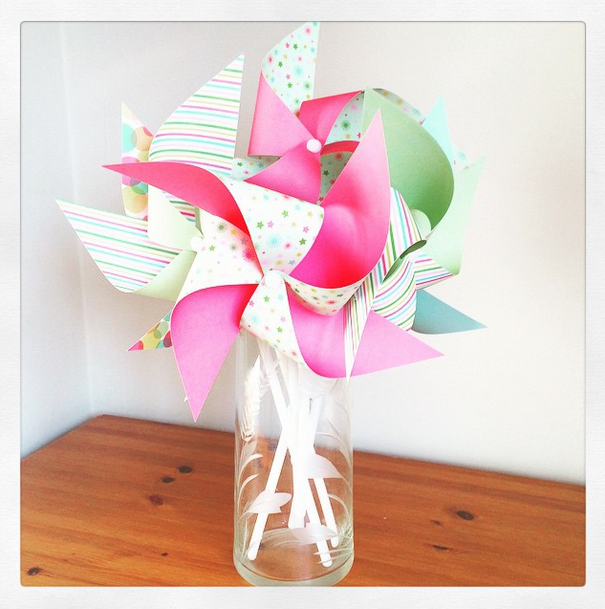
After folding my six pinwheels, fastening them and mounting onto the sticks, I found a vase to display them in. They look so cheery sat on my windowsill – better than flowers if you ask me (and far longer lasting)!

This summer, I turn 30. On the weekend of my birthday, I am hosting a mini BBQ for my boyfriend, my brother, his partner and my mum. I’m going to display these pinwheels in my plant pots outside – they coordinate wonderfully with the bunting I’m making too which is a happy accident!
As far as reviews go, I’d certain recommend these pinwheels to anybody thinking of buying them. They’re very easy to assemble and certainly add plenty of cheer to the room. I’m now off to browse the rest of Martha Stewart’s Modern Festive range, to see what else I can make for my BBQ celebration.

Hello!
I’m thinking of ordering the kit from the internet (I am from Greece) and I’m wondering what is the size of the pinwheels.
Thank you, Marina
They’re quite large. I don’t have one on me, but I think they’re about as big as a hand!